How to Create a Card Game — The Complete Indie Developer Guide
Learn how to create a card game from scratch. This complete guide covers game mechanics, card design, playtesting, and everything indie developers need to ship a TCG.
So you want to create a card game. Maybe you have a world in your head, a mechanic you cannot stop thinking about, or you just want to build something you would actually want to play. Whatever the reason — this guide walks you through the entire process, from a blank sheet of paper to a playable prototype.
No fluff. Just the steps that matter.
Step 1: Define Your Core Loop Before Anything Else
The single biggest mistake first-time card game designers make is starting with 300 card ideas before knowing how the game actually plays. Do not design cards until you can answer these four questions:
What is the win condition? Reduce the opponent's life to zero? Control the most territories? Empty your hand first? Your win condition shapes everything else.
What is the resource system? How do players pay to play cards? A mana system that grows each turn (Hearthstone) creates a natural power curve. A fixed energy system (Pokémon) rewards efficiency. No resource system at all (Yu-Gi-Oh style) requires harder limits elsewhere.
What is the turn structure? Draw phase, main phase, combat phase, end phase — or something completely different? Keep it simple for your first game. You can add complexity later.
What makes your game different from existing TCGs? You do not need a revolutionary mechanic. But you need one clear answer to "why would someone play this instead of Hearthstone?" That answer becomes your design north star.
Write these four answers down. Everything else follows from them.
Step 2: Start With 40 Cards, Not 300
Once your core loop is defined, resist the urge to design an entire set. Start with the minimum viable deck — typically 40 cards split into basic categories:
- 10–15 resource cards (if your game uses them)
- 15–20 creature or unit cards with varying stats
- 8–12 spell or action cards that create interesting decisions
- 3–5 legendary or rare cards that feel exciting to draw
This gives you enough variety to test the core loop without drowning in variables. The cards you design in this phase will change dramatically after playtesting — designing 300 cards first means redesigning 300 cards later.
If your game cannot be fun with 40 cards, it will not be fixed by adding 260 more. Prove the core loop first. Expand second.
Step 3: Design Your Card Template
Before you can playtest a physical prototype, you need a card layout. This is where most indie developers lose days or weeks — wrestling with Photoshop trying to build a frame system from scratch.
Your card template needs to solve several problems at once: it must be readable at small sizes, accommodate variable amounts of text, communicate rarity and card type clearly, and look cohesive across an entire deck.
A well-designed card template includes:
- Art frame — the area where character or scene artwork sits. Usually 50–60% of the card face.
- Title bar — clear, readable name placement. Avoid decorative fonts for names — readability under game conditions matters.
- Type and subtype line — "Creature — Dragon", "Spell — Instant". This communicates the card's role at a glance.
- Stats area — attack, defense, cost, power level. Whatever your system uses, keep stat placement consistent across every card.
- Description box — rules text and flavor text. Leave more space than you think you need. Rules text always expands.
- Rarity indicator — gem, symbol, or color coding that communicates card rarity immediately.
Building a layered, modular card template from scratch in Photoshop takes 20–40 hours for a designer who knows what they are doing. For most indie developers, that time is better spent on mechanics, playtesting, and content. A ready-made template solves this in minutes.
Step 4: Prototype Fast and Ugly
Your first physical prototype should be printed on plain paper, cut with scissors, and sleeved in front of basic land cards. It should look terrible. That is correct.
The goal of your first 10 playtests is not to impress anyone — it is to break the game as fast as possible. You are looking for:
- Dominant strategies — is there one combination of cards that always wins? Remove it.
- Dead cards — are there cards nobody ever plays? Redesign or cut them.
- Analysis paralysis — do players spend more than 2 minutes on a single decision? Simplify the options.
- Pacing issues — does the game end in 5 minutes or drag past 45? Adjust your resource curve.
Print. Play. Break. Revise. Repeat. Do this cycle at least 20 times before considering digital implementation or art investment.
Step 5: Balance Is a Process, Not a Destination
No card game ships balanced. Every major TCG in history has required patches, bans, and errata after release. Accept this early.
What you can do is build a framework for balance before launch:
Establish a power baseline. Design one "average" card in each category — a 3-cost creature with 3 attack and 3 defense, for example. Every other card is measured against this baseline. Stronger cards cost more. Weaker cards have bonus effects.
Use the color or faction system. Segmenting your card pool into 3–5 factions or elements naturally limits which cards combine. This reduces the number of broken combinations without restricting creativity.
Never release a card you have not tested in 15+ games. If a card rarely appeared in testing, you do not understand it well enough to ship it.
Step 6: Choose Your Launch Format
How you release your game defines your entire business model. Three realistic options for indie developers:
Digital only (recommended for first release). Platforms like Steam, itch.io, or your own website. No printing costs, instant updates for balance patches, built-in matchmaking. The Hearthstone model — players acquire cards through in-game currency or purchases.
Print and play. PDF files players print and cut themselves. Zero production cost for you. Popular on itch.io and BGG. Great for early community building and honest playtesting feedback.
Physical print run. Services like MakePlayingCards or GameCrafter allow small print runs. Expensive per unit but allows a premium physical product. Best paired with a Kickstarter campaign to validate demand before committing to inventory.
Most successful indie TCGs launch digitally, build an audience, then move to physical if demand justifies it.
Step 7: Build Your Visual Identity
Once your mechanics are proven and your prototype has survived real playtesting, it is time to invest in visual design. This is where your game goes from "interesting concept" to "thing people want to own."
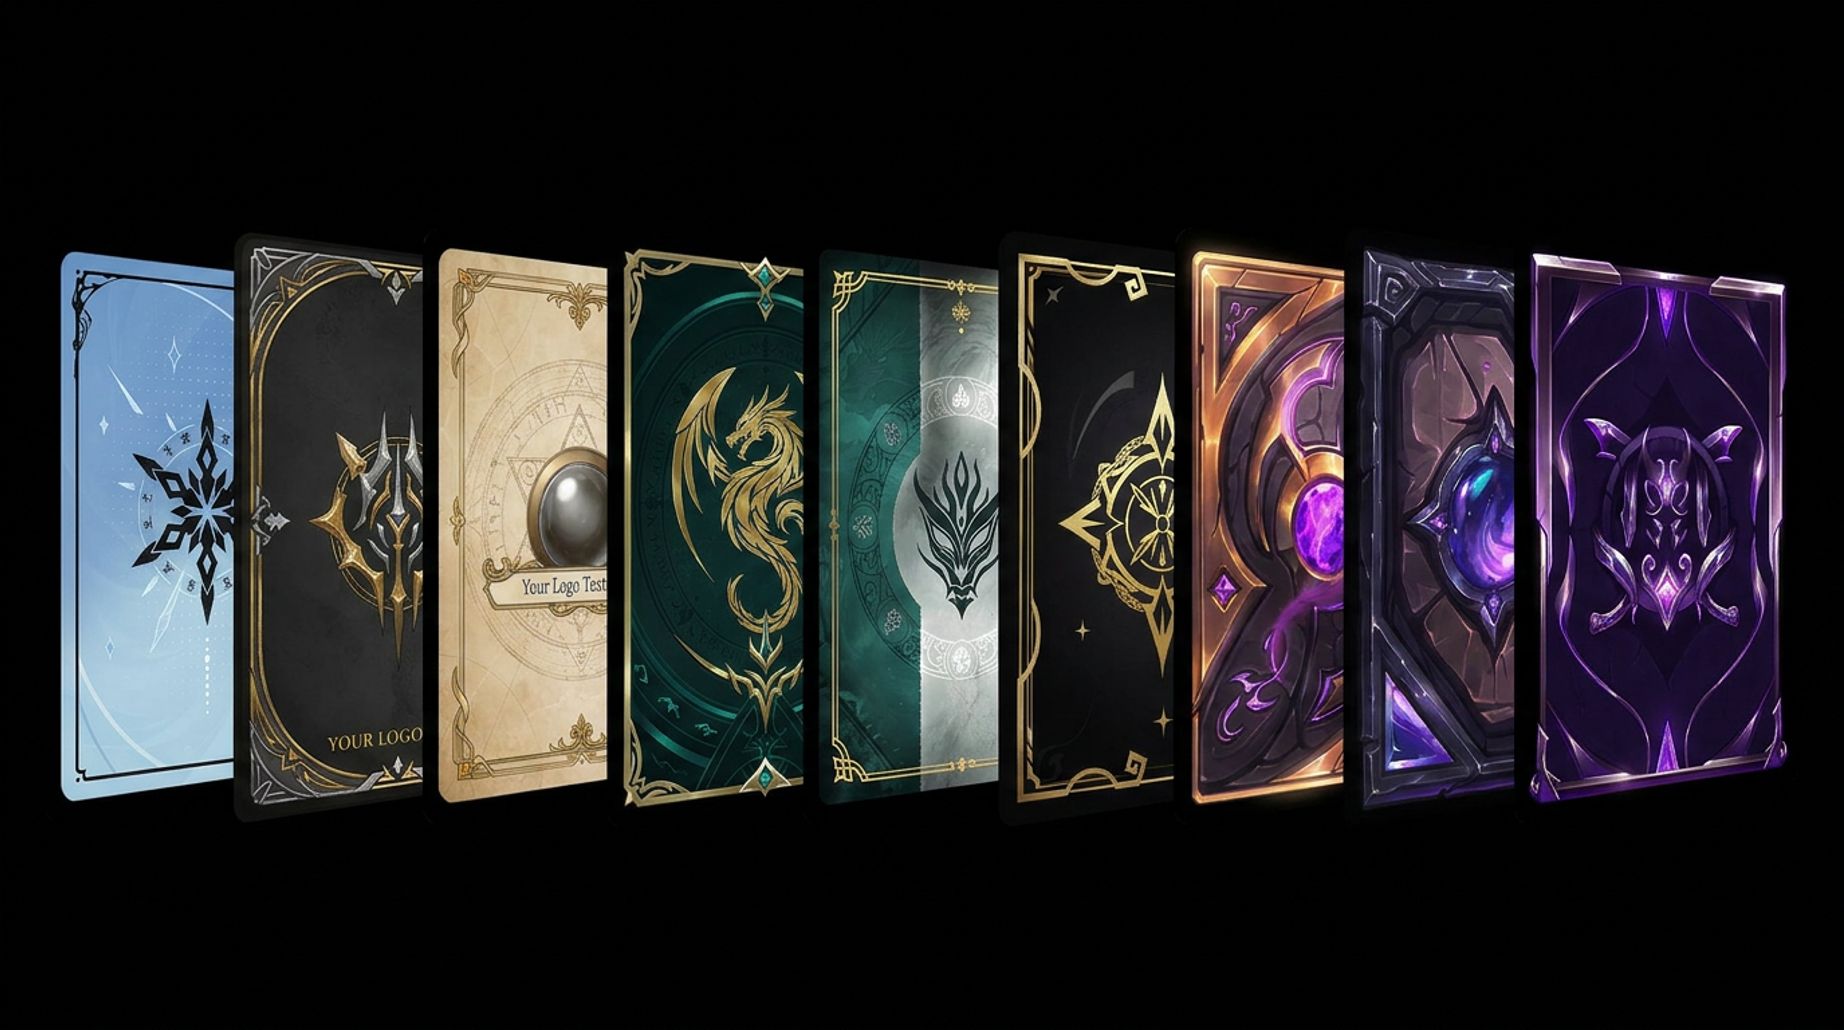
Your visual identity includes your card template style, your color system for factions or elements, your card back design, and your game logo. These should feel like they belong to the same world.
Here are a few templates built for different TCG aesthetics — each includes full PSD source files, modular PNG assets for Unity and Godot, and a commercial license:

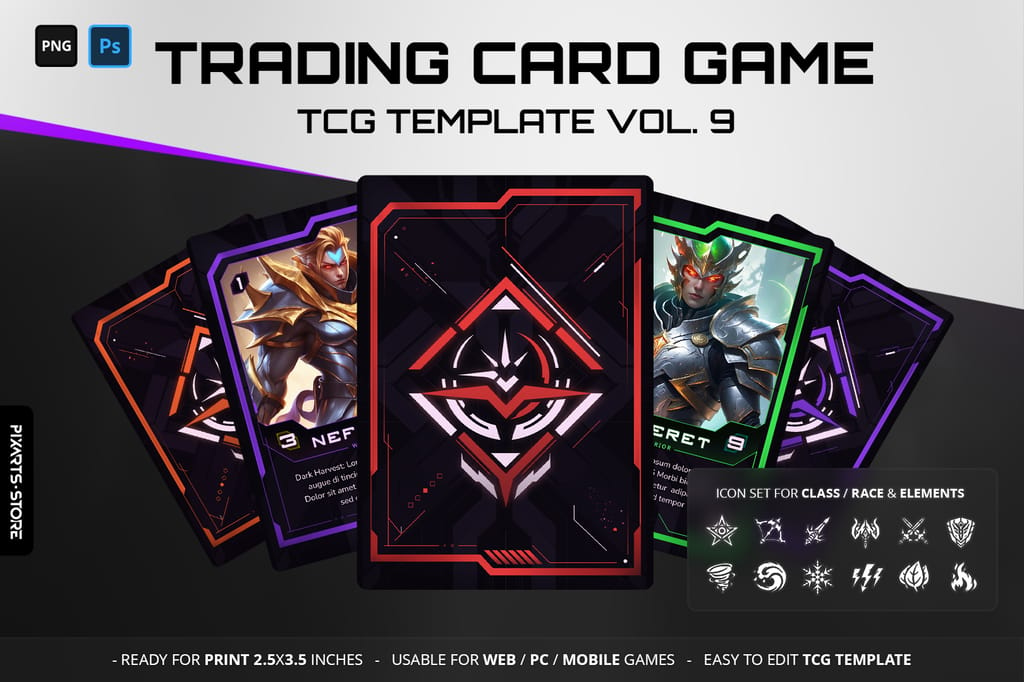
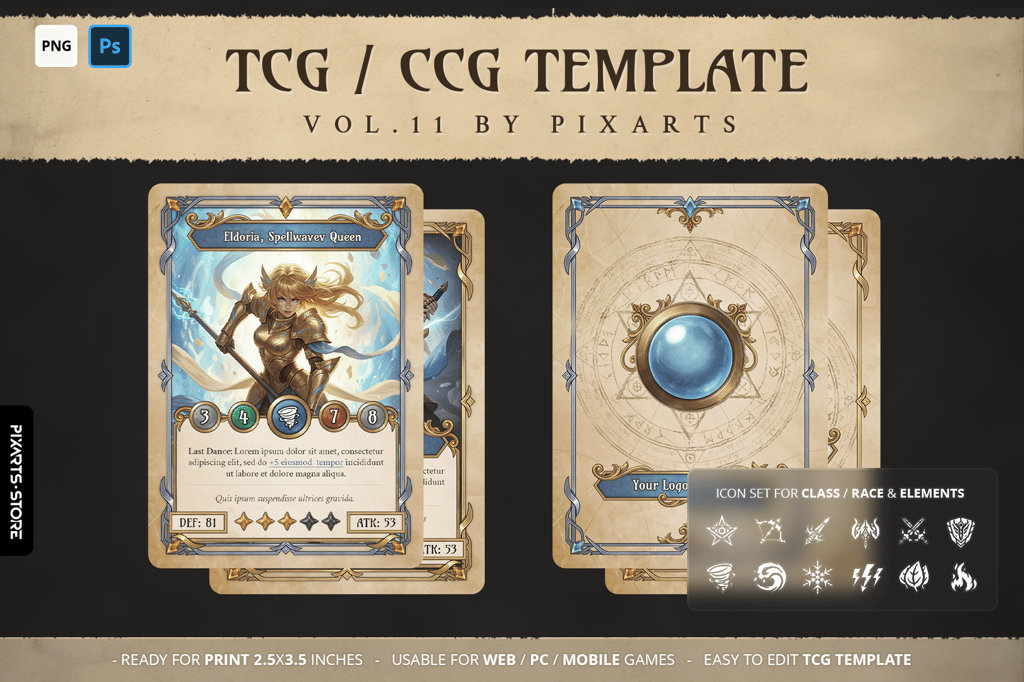
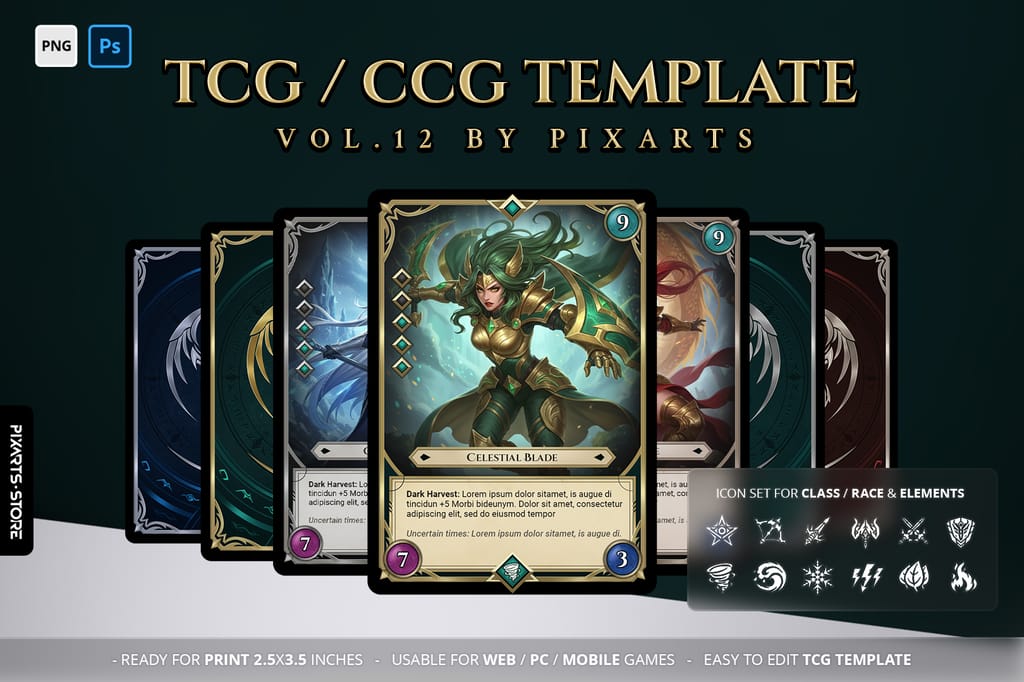
- Skip 30+ hours of Photoshop work: Frames, card backs, icon sets, and color variants are already built. Open, customize, export.
- Engine-ready PNG assets: Every component is separated and transparent — import directly into Unity or Godot without additional slicing.
- Commercial license included: Ship on Steam, itch.io, Kickstarter, or print-on-demand without legal exposure.
Browse All TCG Card Templates
From dark dungeon crawlers to anime gacha battlers, sci-fi strategy games and classic fantasy RPGs — find the visual system that fits your game.

Dedicated to empowering game developers with premium digital assets. We specialize in crafting immersive UI designs, distinct logos, and web solutions that take your game project to the next level.